MIS-AMS SQL ActiveH Repairs configuration
Configuration of Keyfax within the MIS-AMS SQL ActiveH Repairs.
Important notice: At the time of writing, MIS-AMS have not completed full integration of Keyfax Repairs Diagnostic with the SQL ActiveH (responsive) Repairs module.
Although Keyfax Repairs Diagnostic can be launched, the information captured from the Keyfax exported data is extremely limited. At present, only the SOR codes generated are captured. No priorities, additional information, inspections etc are read, and as a result, repair requests must be completed manually in the SQL ActiveH Repairs module. For this reason, Omfax recommend that the MIS-AMS SQL ActiveH CRM is used, which is fully integrated with Keyfax Repairs Diagnostic.
This document shows a guide for configuring SQL ActiveH Repairs for use with Keyfax Repairs Diagnostic, only if CRM is not available. Omfax are committed to working with MIS-AMS to complete the Repairs integration at the earliest possible date.
Before Keyfax is used with the MIS-AMS SQL ActiveH Repairs, various settings need to be applied to the MIS-AMS installation. This is done via the MIS-AMS SQL ActiveH Desktop and Repairs. The following information give a walk-through of the various steps required to complete the configuration:
|
1. The MIS-AMS SQL ActiveH Desktop application is usually accessible from a desktop shortcut icon on the client PC. Click this icon to launch the MIS-AMS SQL Active Desktop.
|
|
|
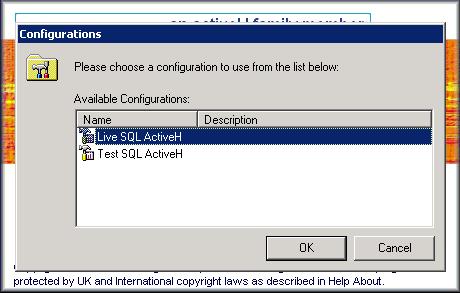
2. If the MIS-AMS SQL ActiveH installation has more than one instance available, a "configurations" dialog will be displayed (see right). This may contain Live, Test and Training versions, all of which will need to be configured independently.
|
|
|
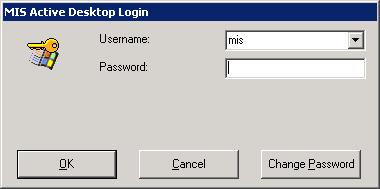
3. A login dialog will prompt yo for a valid username (ID) and password.
|
|
|
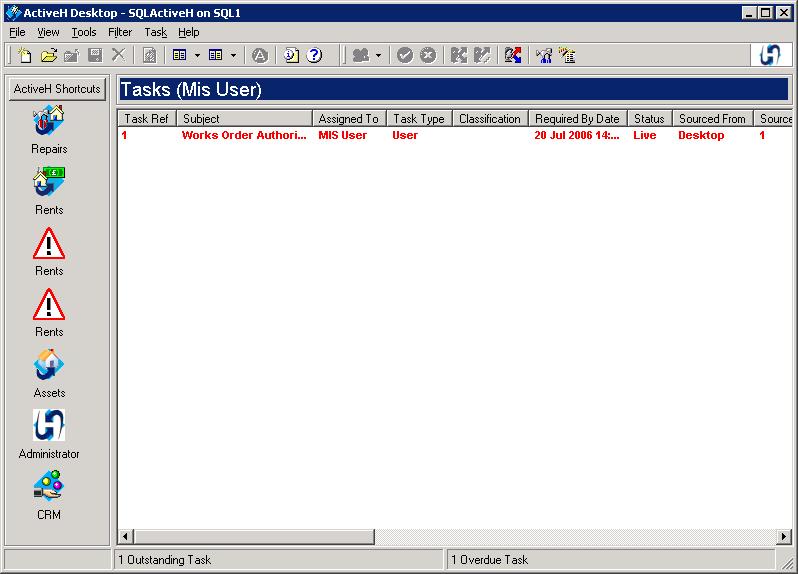
4. The Main MIS-AMS SQL ActiveH Desktop window is displayed (see right). This give access to the required configuration screens.
|
|
|
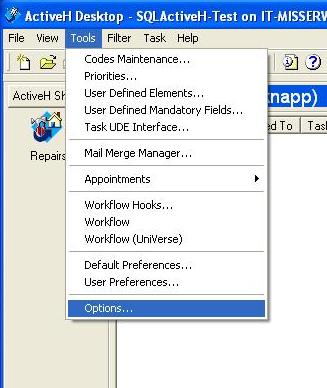
5. From the Main MIS-AMS SQL ActiveH Desktop window, select the "Options.." item from the "Tools" menu (see right). |
|
|
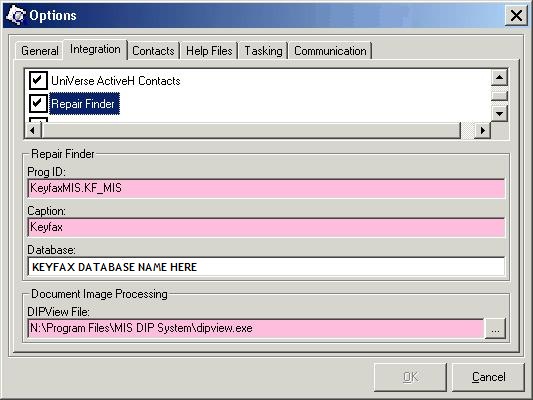
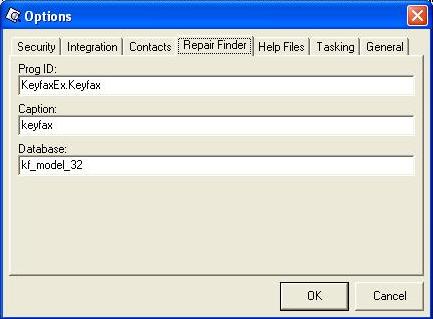
6. The "Options" screen has a series of settings which can be set on "tabs". The "Repair Finder" tab should be selected, and the details should be entered as follows: |
|
|
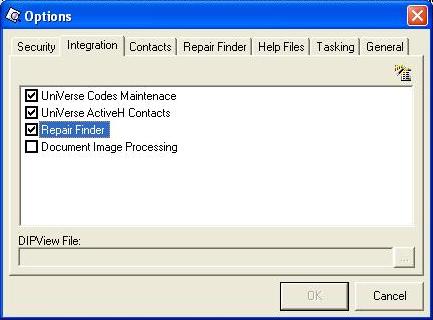
7. While in the "Options" screen, the "Integration" tab should be selected, and the "Repair Finder" item should be checked. - This enables/disables the Keyfax hyperlink button in the CRM. |
|
|
8. Note: In later versions of the MIS-AMS SQL ActiveH Desktop application, the Options screen has been revised. The screen capture on the right is from version 5.5.0. |
 |

Once the MIS-AMS SQL ActiveH Desktop configuration is complete, additional configuration is required in the MIS-AMS SQL ActiveH Repairs module. The following information give a walk-through of the various steps required to complete the configuration:
|
1. The MIS-AMS SQL ActiveH Repairs application is usually accessible from a desktop shortcut icon on the client PC. Click this icon to launch the MIS-AMS SQL ActiveH Repairs, and login as an administrative user (as indicated above).
|
|
|
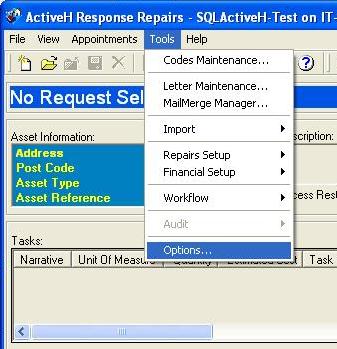
2. From the Main MIS-AMS SQL ActiveH Repairs window, select the "Options.." item from the "Tools" menu (see right).
|
|
|
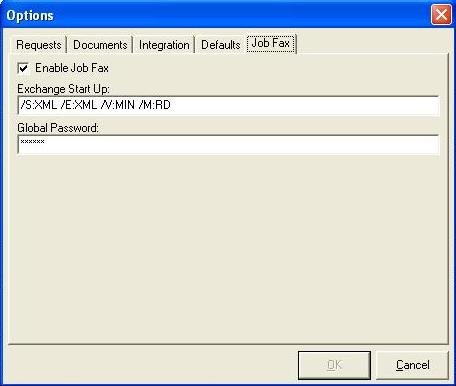
3. The "Options" screen has a series of settings which can be set on "tabs". The "Job Fax " tab should be selected, and the details should be entered as follows:
|
|
Launching Keyfax from MIS-AMS SQL ActiveH Repairs.
Once the MIS-AMS SQL ActiveH Desktop and repairs modules have been configured the Keyfax application can then be launched from the Repairs module. The following information give a walk-through of the various steps required to test this configuration:
|
1. The MIS-AMS SQL ActiveH Repairs application is usually accessible from a desktop shortcut icon on the client PC. Click this icon to launch the MIS-AMS SQL ActiveH Repairs, and login (as indicated above).
|
|
|
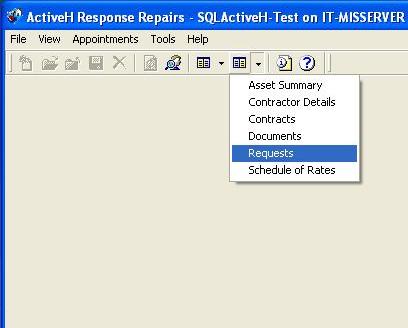
2. From the toolbar, select the "Requests" item from the "Tasks" menu icon drop-down (see right).
|
|
|
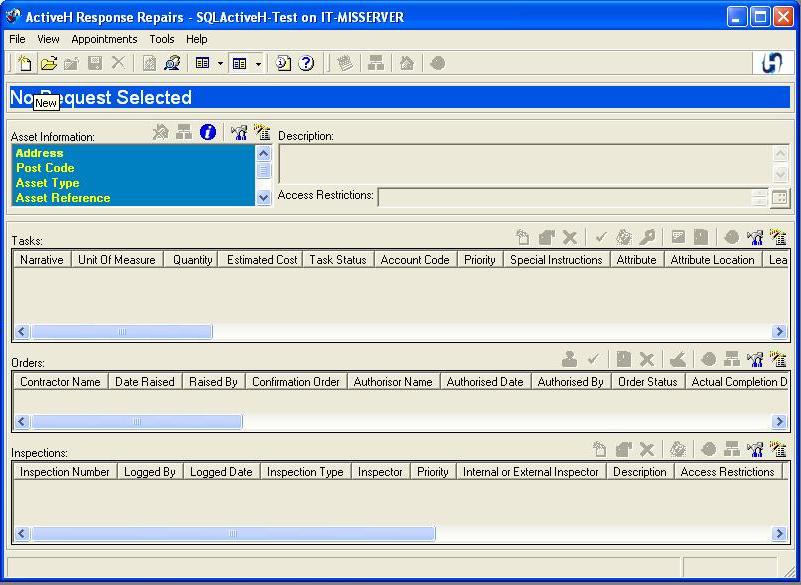
3. A new "Repairs Request" will be created, which will require an asset to be selected (or looked up) before Keyfax can be launched.
|
|
|
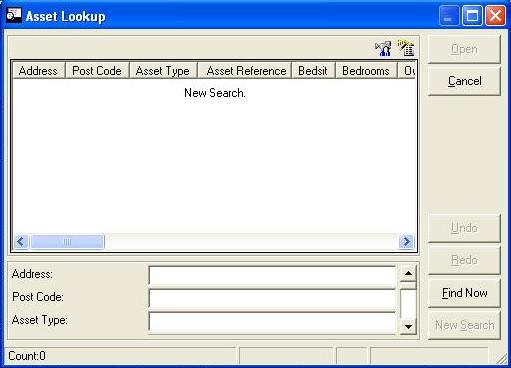
4. The MIS-AMS SQL ActiveH "Asset Lookup" window is displayed (see right). Enter in search criteria to select an Asset by it's address, postcode, type or current tenant details.
|
|
|
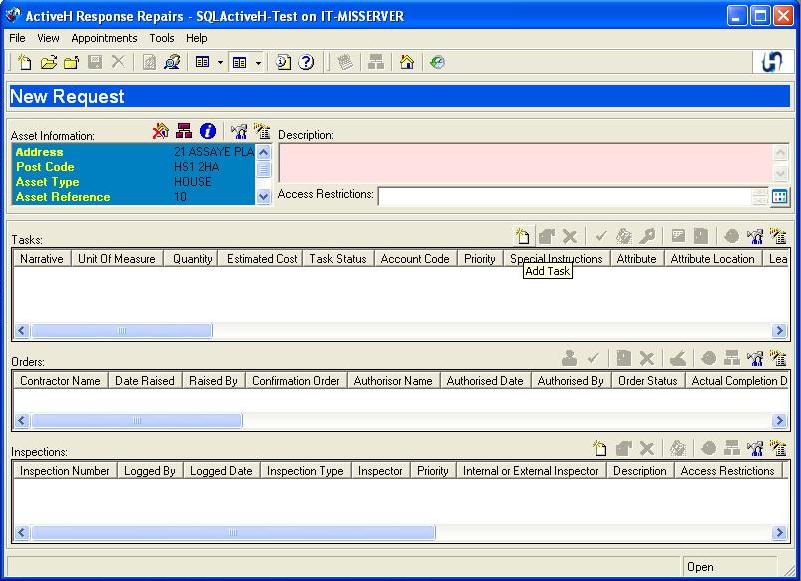
5. Once a tenant is selected from the "Asset Lookup" window, it will close and populate the "Repairs Request" window (see right).
|
|
|
6. You will now see a "Keyfax" button (Blue "K" icon), next to the MIS-AMS SOR Lookup button (magnifying glass icon). This will launch Keyfax Repairs Diagnostic to capture SOR codes (see right). |
|
|
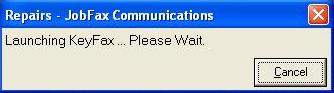
7. When the "Keyfax" button is clicked a "JobFax Communications" window will be displayed. This remains on screen, with Keyfax status information displayed until the Keyfax scripting process is complete (see right). |
|
|
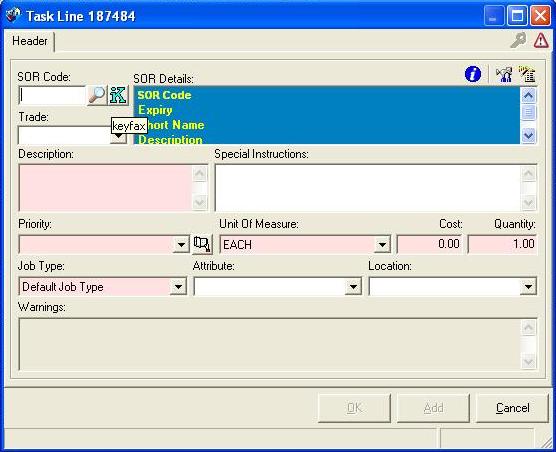
8. Once Keyfax closes, the SOR code will be returned to the "Task Line " window, where the Priority, Unit Of Measure and Quantity, Job Type and other required information should be completed manually. |